By : Juhi Bansal
I have said time and again, I am not really a make up person. But, I’ve come a long way from a dorky collegiate to a self-assured person. And, as much as I would like to deny it, make up has played a very important role in it. Let me share some pearls of wisdom with all of you.
Remember how I keep telling you to change some makeup habits that you’ve been following for decades. I’ve been there. It may make you feel safe and in your comfort zone, it’s not doing you any favours. Keep experimenting always!
Here are a couple of steps you can use to transform your look from “just woke up” to everyday glam.
Here’s how I look without makeup (which is most days!). Scary right?
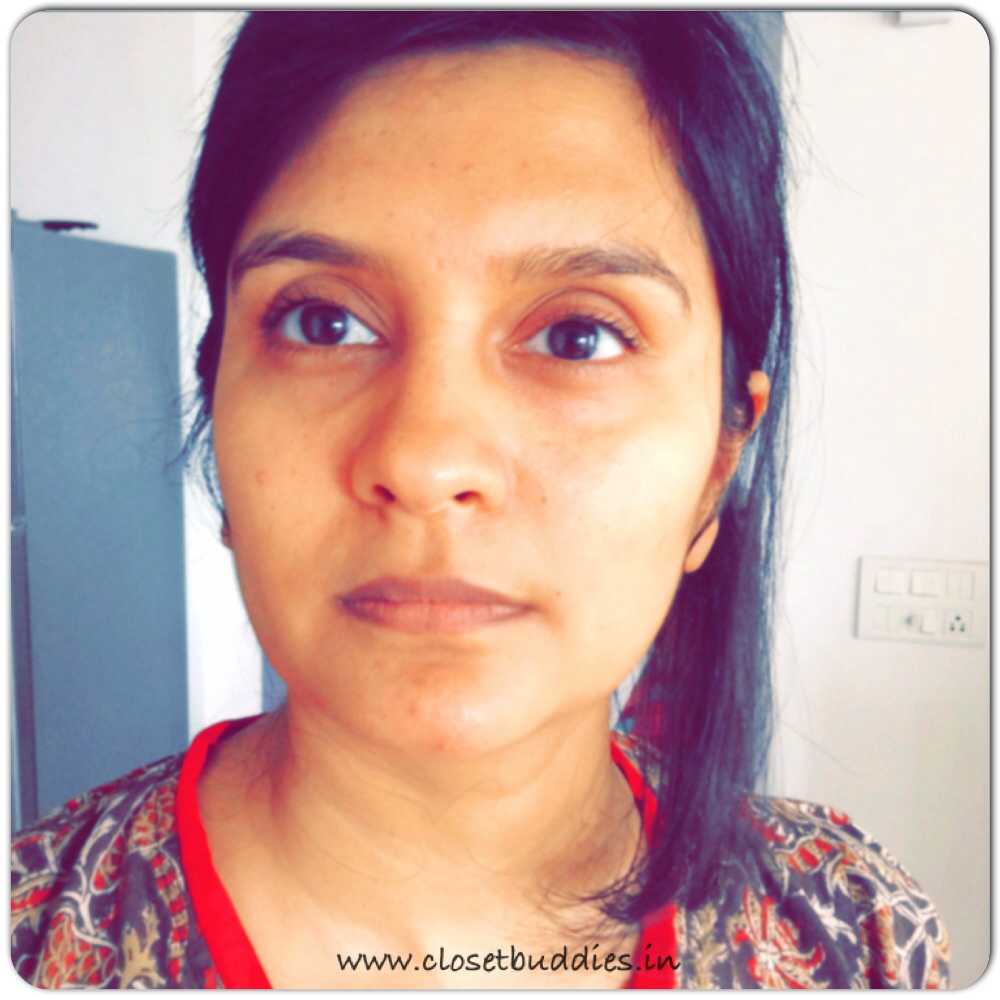
BEFORE
Now, for me, eye brows is the most important part of the makeup regime. That and prepping. While most people may dismiss it as not important (I used to do that too), I’ve come to realize, it is one step you just cannot miss. Prepped brows frame your face properly and make your look complete.
Here’s how you can do your eye-brows:
1. Pluck out any extra hairs using tweezers. I stopped going for threading a while ago. I’ve realized using a tweezer is much more efficient and a sure shot way to make sure your eye brows grow thicker. Visit the salon once to get the preferred shape to your eye brows and then just keep plucking extra hair month on month.
2. Set your brows by dipping an ear bud or a brush into some wax (you can also use vaseline) and dabbing it on the brow. This will make sure the hairs are set.
3. Take some dark brown or light brown powder (depending on your complexion) on a brow brush (you can use eye shadow powder) and fill in the gaps. Do not use black powder as it will look very jarring.
4. Touch it up with an eye brow pencil when needed.
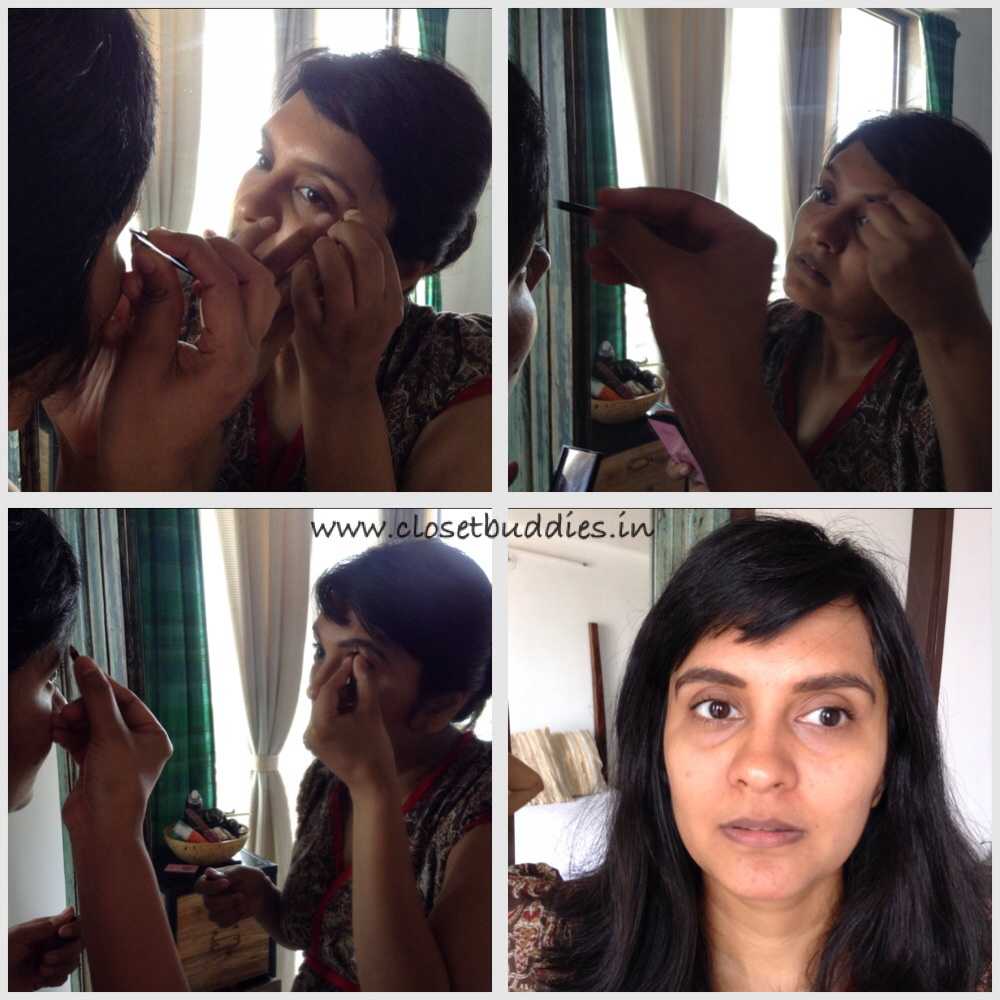
WIP- Brows done
I used The Perfect Brows Tool Kit from Luxola to do my brows since it has all that I needed in one compact box. It’s so handy I can carry it in my wallet!
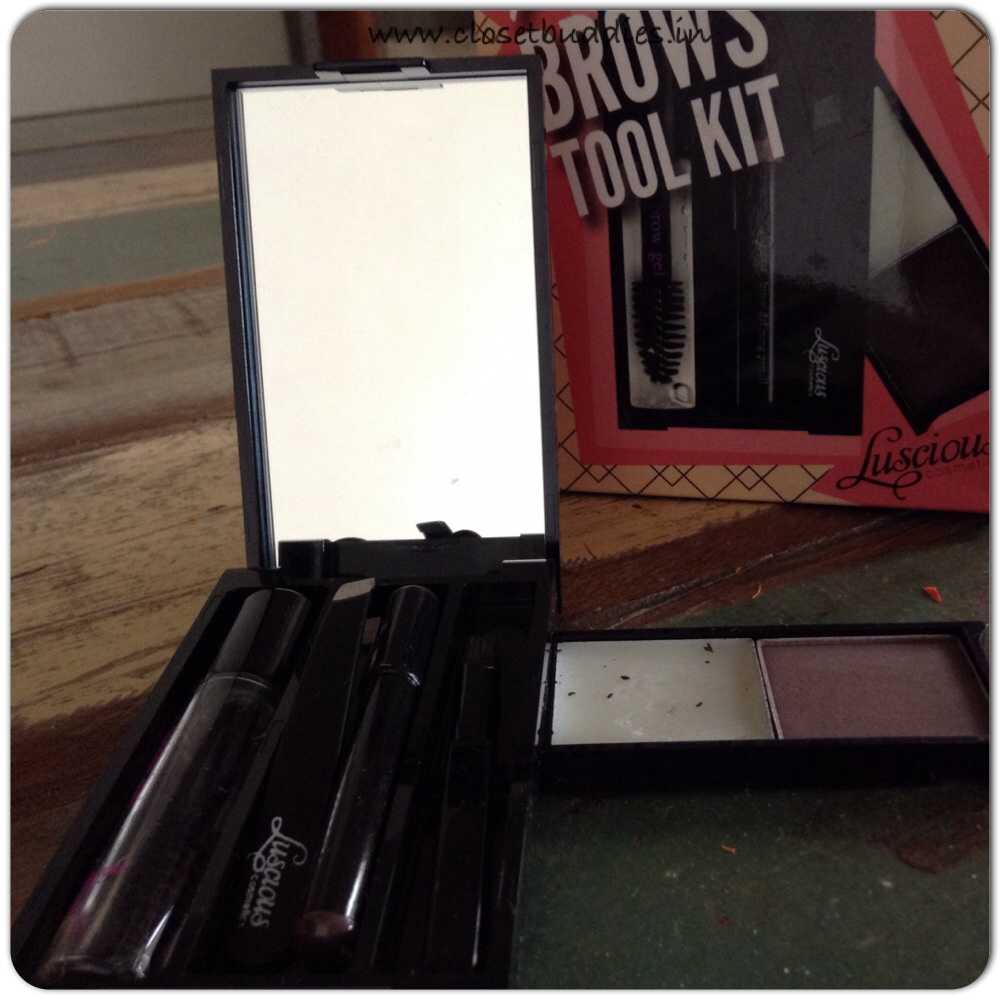
The Perfect Brows Tool Kit : comes with a mini tweezer, brow brush, wax, brown powder, pencil and clear mascara.
For the most basic look, I just do liner and mascara and skip the shadow and colours.
1. Outline your upper lash line with a thin pencil or brush liner. I used a brown liner to define the eyes more. This is to ensure that the liner application is smooth and there is no gap between the lash line and liner. It looks very incomplete and tacky, if not done properly.
2. Once the outline is done, take your liner and start from the middle of the lid towards the end. Extend it just a little for a slight drama. Come back and finish the first half. Repeat on the second eyelid and then compare. If there is a mismatch, make the thinner one bolder.
3. Although I would recommend using a brush for eye liner application, a lot of people tell me their hand is not steady enough and they end up messing their liner. The best way to counter that is by using a pencil or a pen. A pen stays longer and looks very neat. You cannot tell the difference. Also it’s just like holding a sketch pen so Voila!
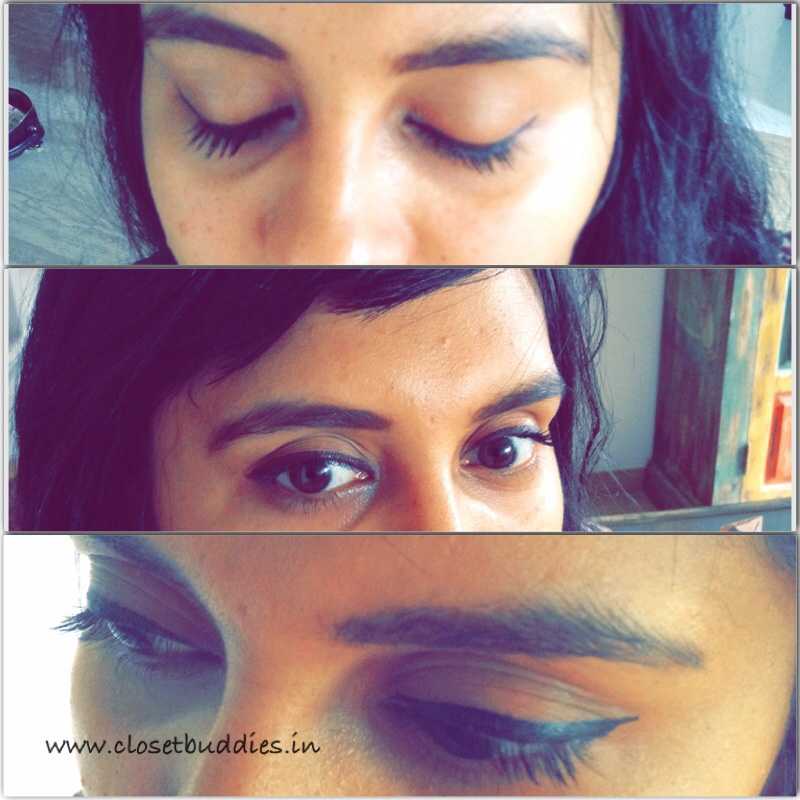
Getting the liner right. From outlining to actual application
I used the following products to get the look right.
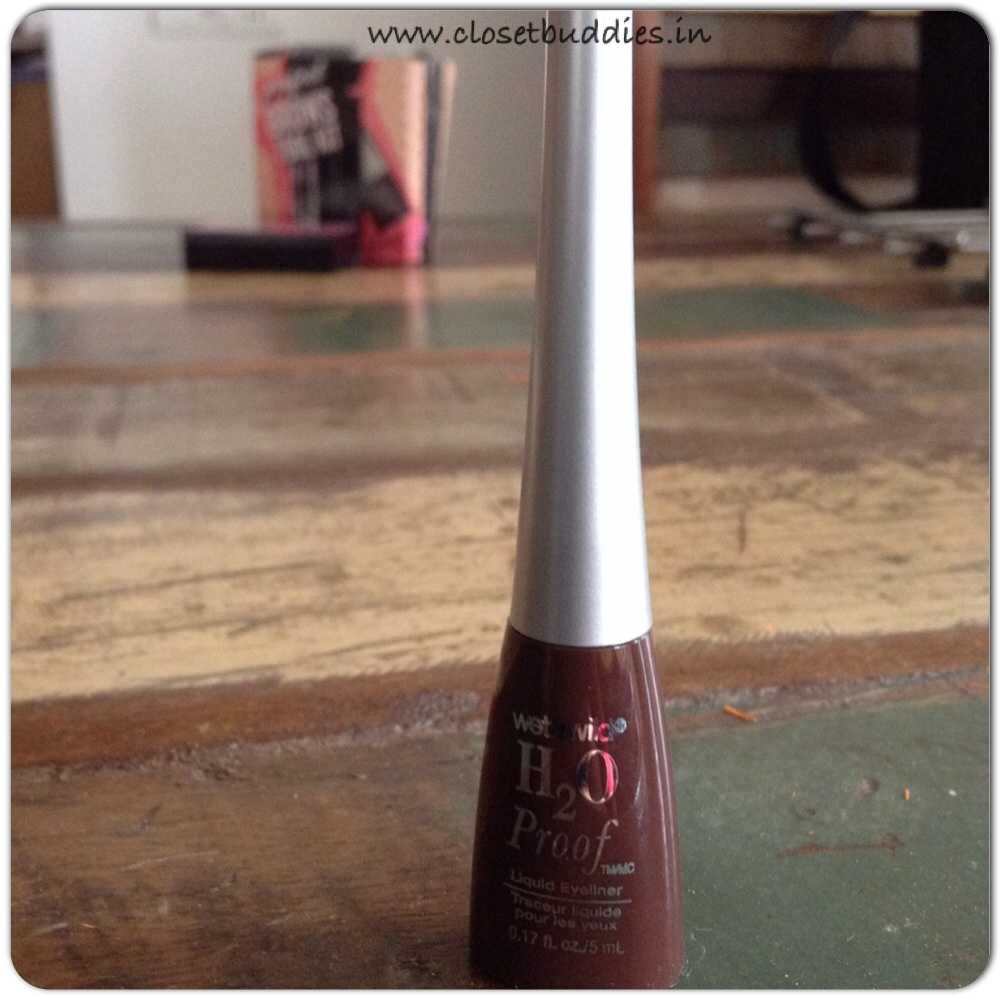
Wet n Wild H2O Proof Liquid Eye Liner in Espresso

Zoeva Cat Eye Pen in Black
Both these products last for hours without any touch up.
4. Complete the look with mascara application. Please do not skip this at any cost!
Once, the eyes were done, I slapped on some primer, a hint of blush and lipstick.
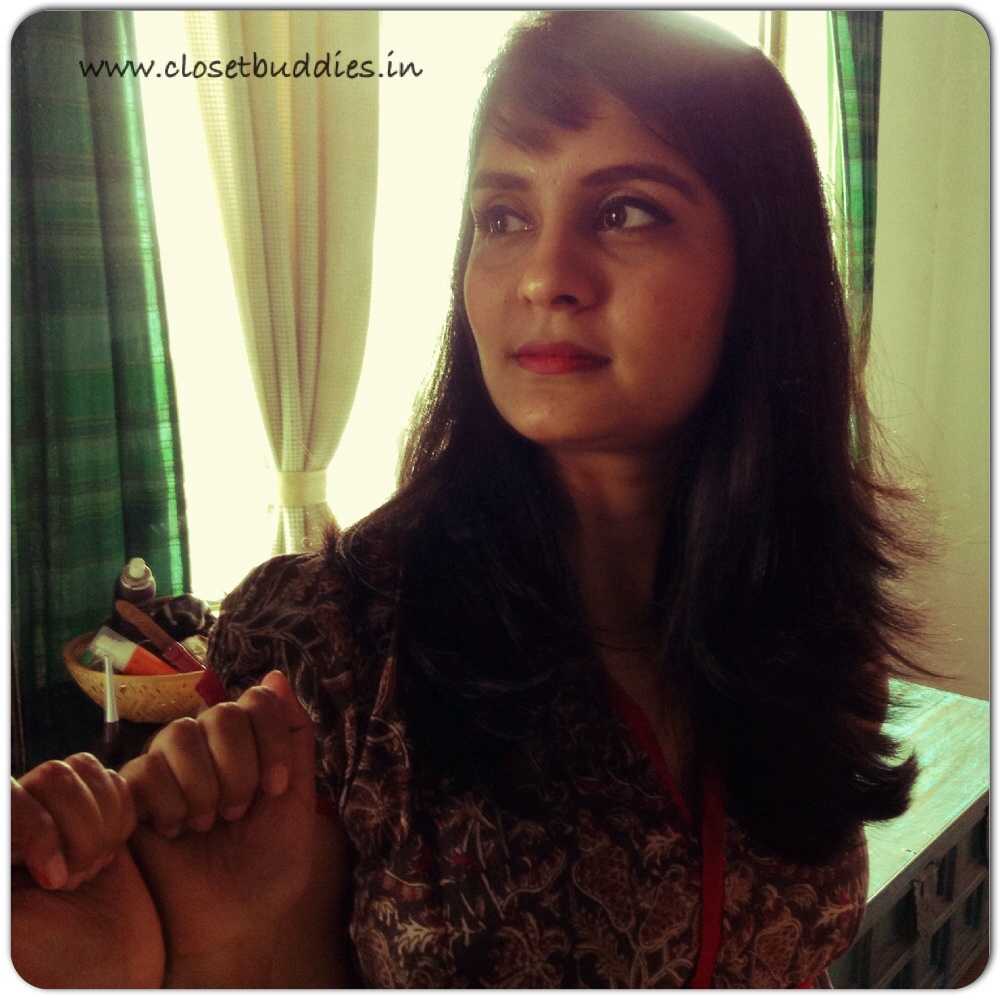
AFTER
And you know how much time it took me to do all this? Less than 10 mins! Now that you know, I am sure stepping out of the house will be much more fun!
You can buy the Eye Makeup I used in the post here.
Use code BLX-JUHI on checkout and get 15% off on your first purchase!
Stay Gorgeous xx
Credits:
Powered by Luxola
No Comments